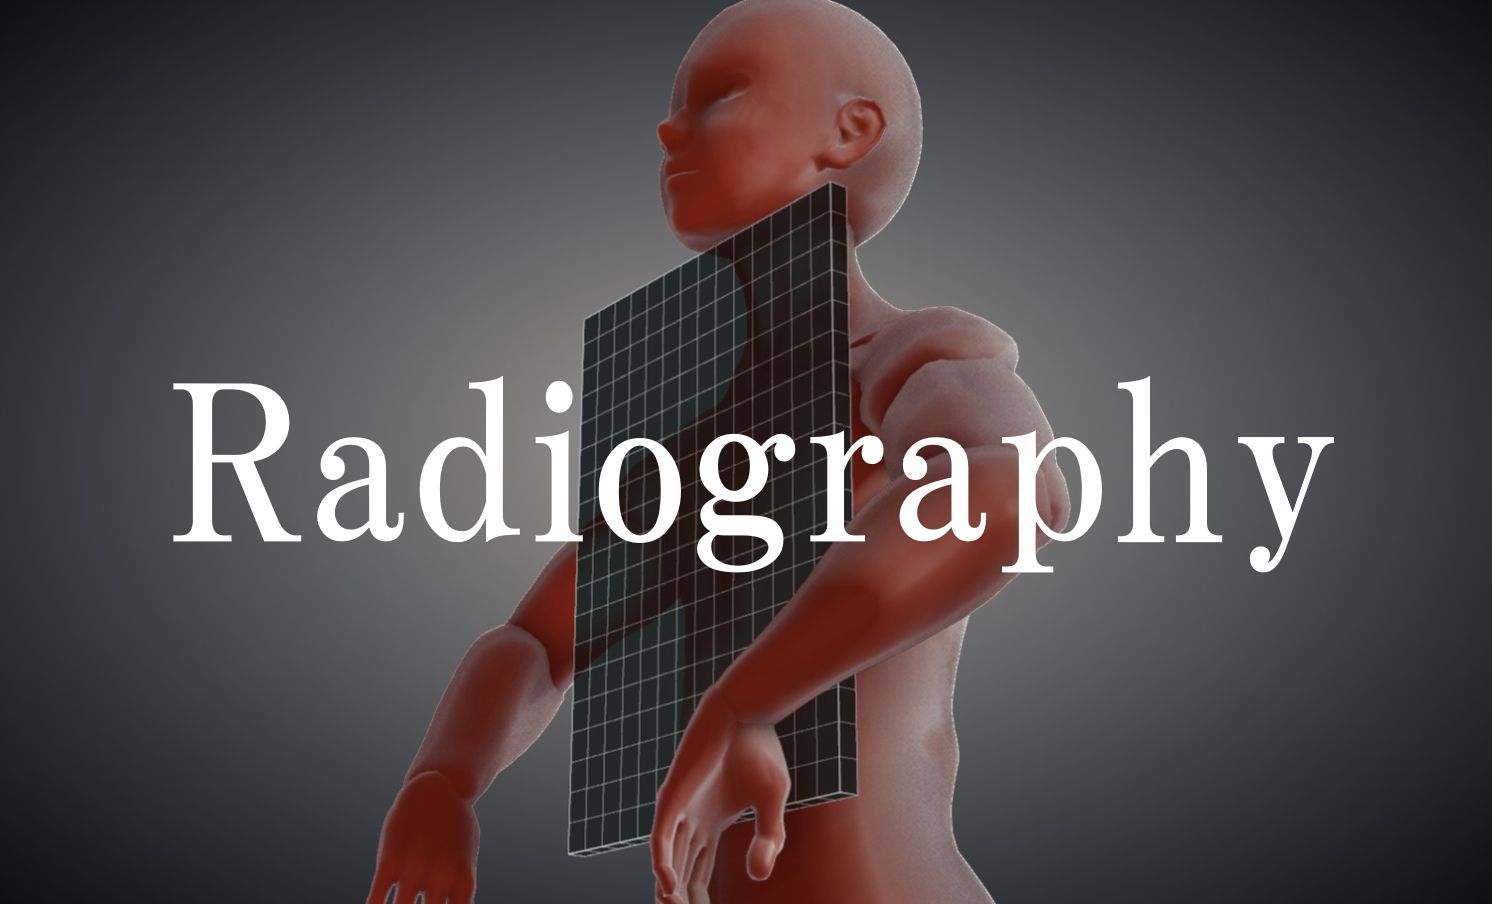
Scapula AP view
Purpose
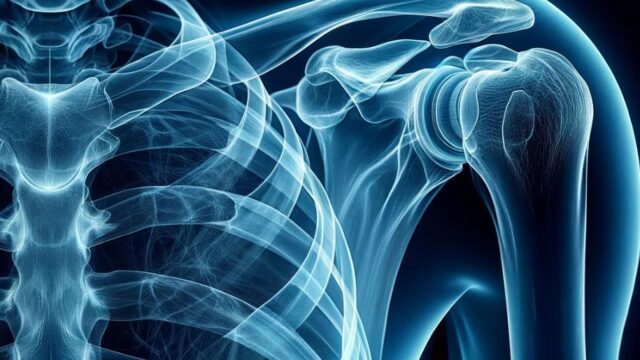
Observation of the scapula.
Prior confirmation
Remove any obstructing objects.
Positioning
Erect, sitting (or supine) position.
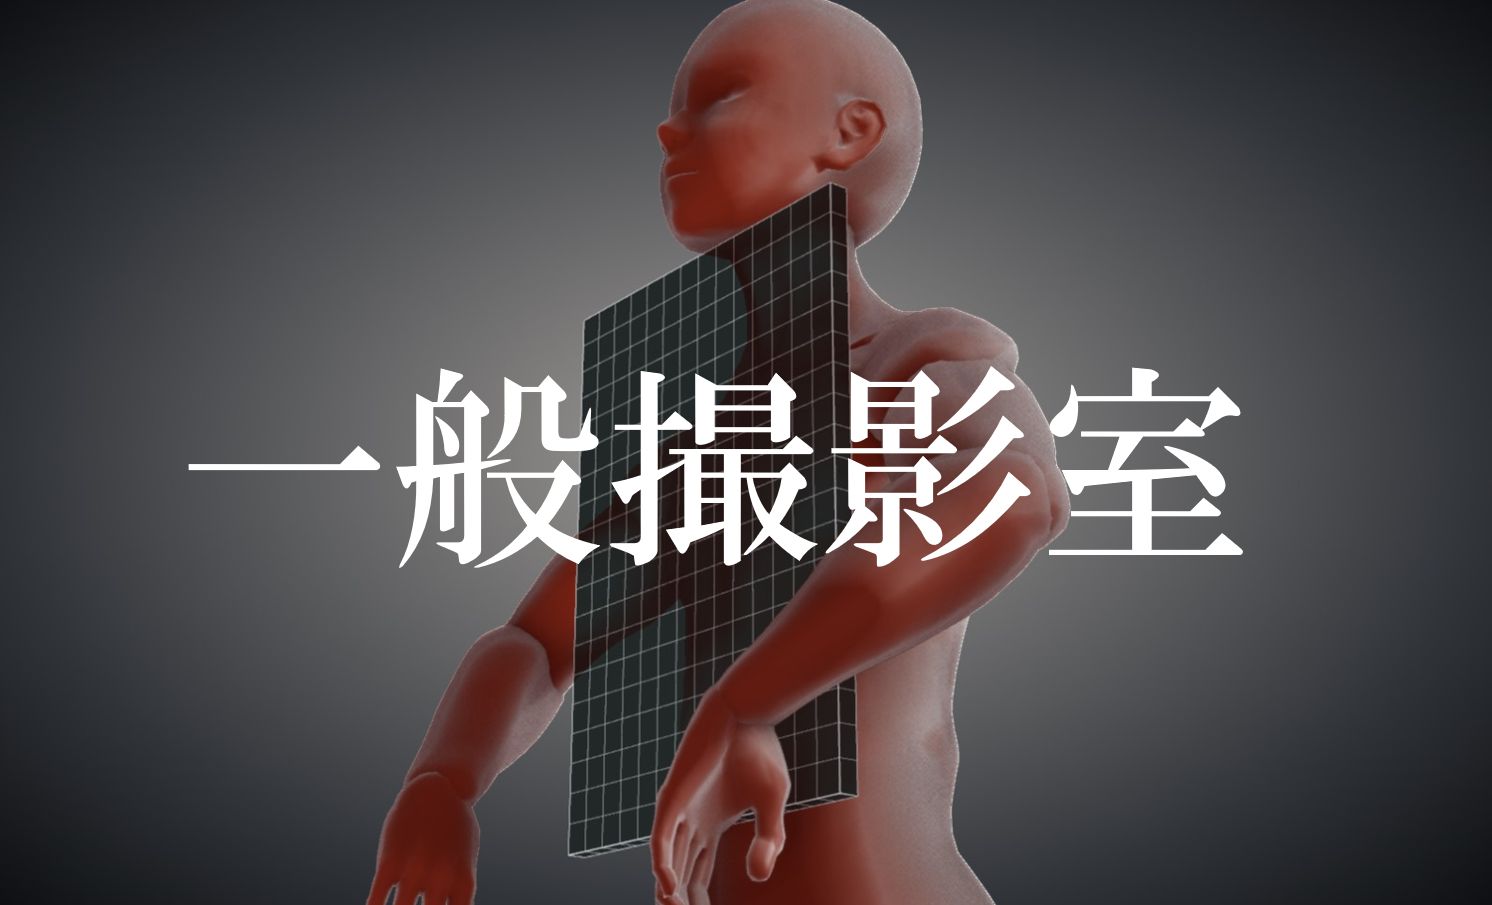
Facing away from the cassette, align the coronal plane and the cassette parallel to each other.
By angling the body approximately 20 degrees towards the affected side, it is possible to align the scapula parallel to the cassette, but there may be increased overlap of the ribs.
Align the scapula (5 cm below the coracoid process) with the center of the cassette.
*Some sources suggest aligning it with the center of the cassette, 4 fingerbreadths below the center of the clavicle.
Raise the affected side’s arm and place the palm of the hand above the head.
Place RL marker.
CR, distance, field size
CR : Perpendicular entry towards the center of the cassette (scapula).
Distance : 100 cm.
Field size : Collimate to include the entire scapula.
Exposure condition
70kV / 16mAs
Grid ( + )
Full expiration
*Alternatively, the image can be obtained while the patient is in the breath using a long exposure time (>3s). This allows for blurring of the lung field shadows and clear projection of the scapula. However, it is important to ensure minimal body movement.
Image, check-point
Normal
The inner aspect of the scapula overlaps with the rib cage, but the outer aspect is visualized without superimposition from the ribs.
The acromion is visualized without overexposure.
The entire scapula is included in the image.
Soft tissues are observable.
There is no motion blur.
Videos
Related material
Let’s learn how the coracoid process is covered by muscles.


